Subject Line
Provide your own Name for range of cells
Overview
Sometimes you may need to use ranges in formulas which can be simplified by giving the range a name and then using the name in the formula. Name manager is used to create, edit, delete and find all the names used in the workbook. Names can be used as substitutes for cell references.
For example: = Averge(Sales) instead of =Average(C2:C100)
Working
Let’s understand with an example.
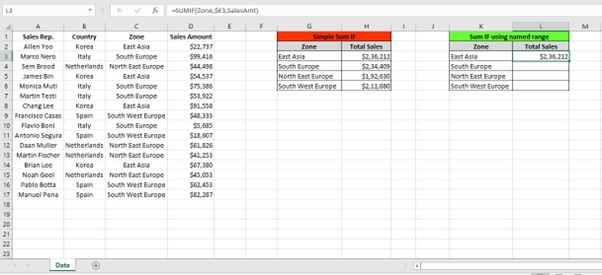
We have (Figure 1: Sales Report) of Sales Rep. for 4 Zones.
We want to find the Total Sales made by each zone.
We will take a look at the difference of using formula in the named range and without named range.
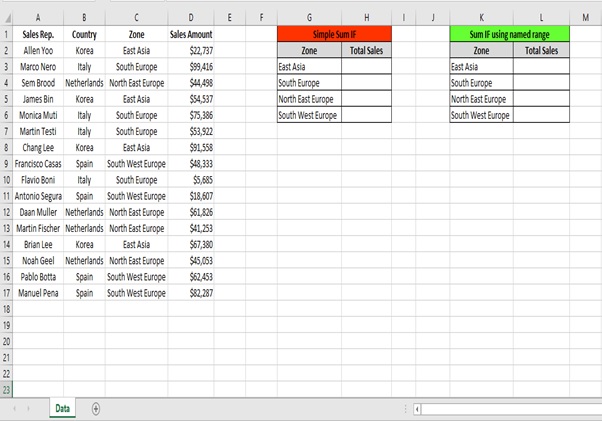
Figure 1: Sales Report
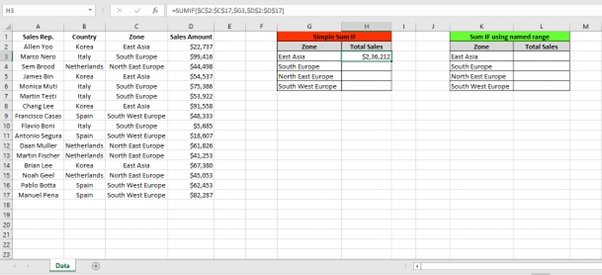
Let’s find out the sales of Zone by selecting the range
Step 1: Type the below formula
=SUMIF($C$2:$C$17,$G3,$D$2:$D$17)
You use the SUMIF function to sum the values in a range that meet criteria that you specify.
Syntax
=SUMIF (range, criteria, [sum_range])
Arguments
The SUMIF function syntax has the following arguments:
- range- Range to apply criteria to.
- criteria – The criteria used to determine which cells to add.
- sum_range – [optional] Range containing values to sum. If sum_range is omitted, the cells in range are added together instead.
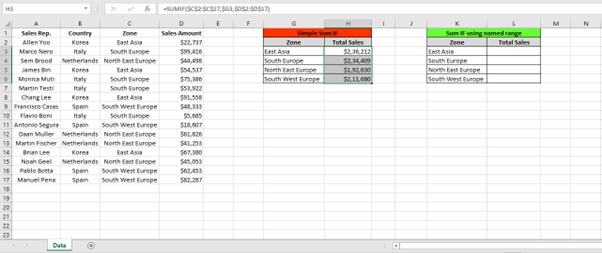
Step 2: Drag the formula to other Zone by selecting the cells (H2:H6) and press Ctrl+D
Let’s find out the sales of Zone using formula in the name range.
Step 1: Go to Formulas Tab
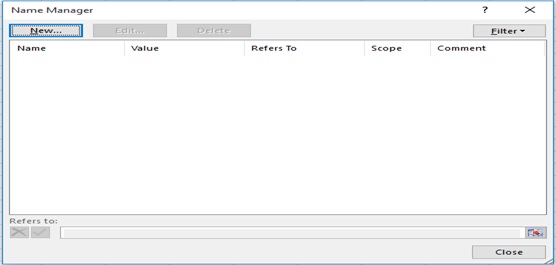
Step 2: Click on Name Manager from Defined Names group.

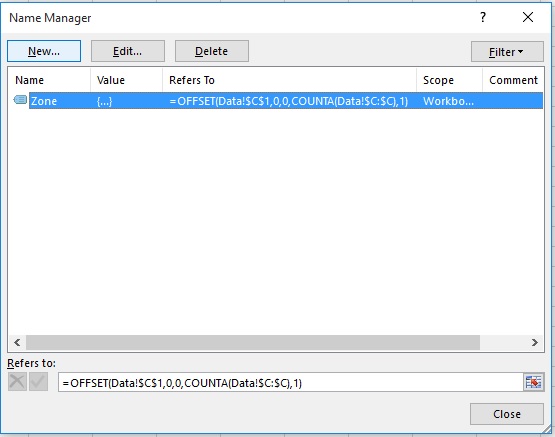
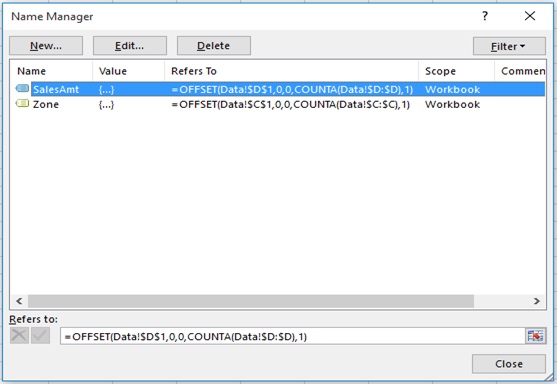
Step 3: Name Manager dialog box will appear
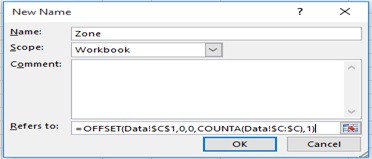
Step 4: Click on New
Step 5: Type the Name as “Zone” since we are going to give range to Zone field.
Step 6: Type the below Formula in the Refers to box
=OFFSET(Data!$C$1,0,0,COUNTA(Data!$C:$C),1)
Explanation: the OFFSET function takes 5 arguments.
- Reference: Data!$C$1
- rows to offset: 0
- columns to offset: 0
- height: COUNTA(Data!$C:$C)
- width: 1.
COUNTA(Data!$C:$C)counts the number of values in column C that are not empty. When you add a value to the range, COUNTA(Data!$C:$C)increases. As a result, the range returned by the OFFSET function expands.
Step 7: Click OK.
Step 8: Click on New
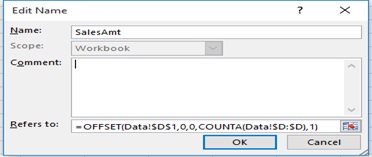
Step 9: Type the Name as “SalesAmt” since we are going to give range to Sales Amount field.
Step 10: Type the below Formula in the Refers to box
=OFFSET(Data!$D$1,0,0,COUNTA(Data!$D:$D),1)
Explanation: the OFFSET function takes 5 arguments.
- Reference: Data!$D$1
- rows to offset: 0,
- columns to offset: 0
- height: COUNTA(Data!$D:$D)
- width: 1.
COUNTA(Data!$D:$D)counts the number of values in column D that are not empty. When you add a value to the range, COUNTA(Data!$D:$D)increases. As a result, the range returned by the OFFSET function expands.
Step 11: Click OK.
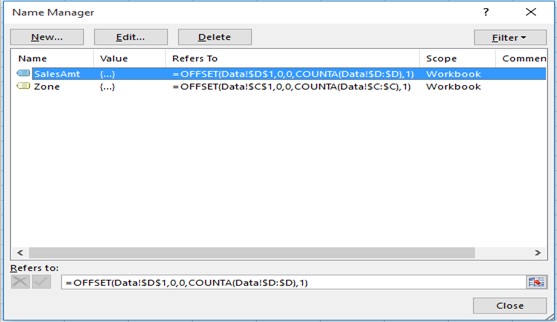
Step 12: We can see that we have created 2 named range using OFFSET function.
Step 13: Click on Close
Now let’s find out the sales of Zone with the named range.
Step 1: Type the below formula
=SUMIF(Zone,$K3,SalesAmt)
The formula here is Zone which is a named range for Criteria range,$K3 is the criteria and SalesAmtwhich is as named range for Sum range.
Note: There is no difference between the Simple SumIF function and Sum IF using named range.

Step 2: Drag the formula to other Zone by selecting the cells (L2:L6) and press Ctrl+D
Note: You still cannot see the difference between the Simple SumIF function and Sum IF using named range
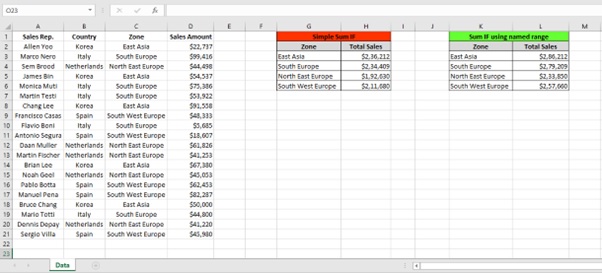
Step 3: We have added one record in Row 18.
Now you can see a difference in Sales amount of East Asia of $50000 which has increased due to the added record in the sales table.

Step 4: We add 3 more records to the sales table for the other 3 Zones.
Now you see the difference in the Total Sales amount in other 3 Zones as well.
Explanation: Using Offset formula in the named range we can have dynamic range which will help us to refer the named range in the formula. In this case we have included the name range in SUMIF() function. We can also use the named range in other formula’s as well.
You can also use the create using New button, edit using Edit button and delete using Delete button.
Scope of usage
- Can be used to name ranges
- Can be used to create dynamic range using your own formula in Name Manager
- Can be used to use the named range in formulas